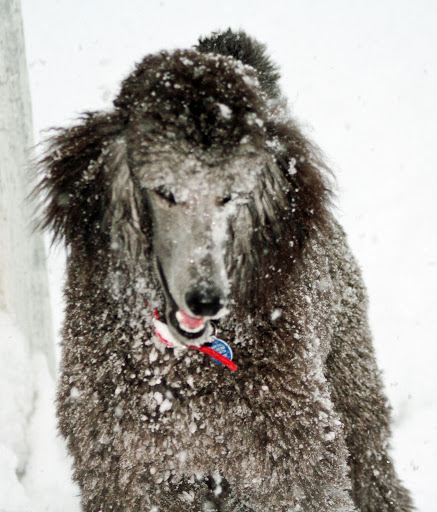
This is really easy and something I sort of stumbled on. Here is my original photo: I think it looks nice but soooo much better with the antique oval applied.

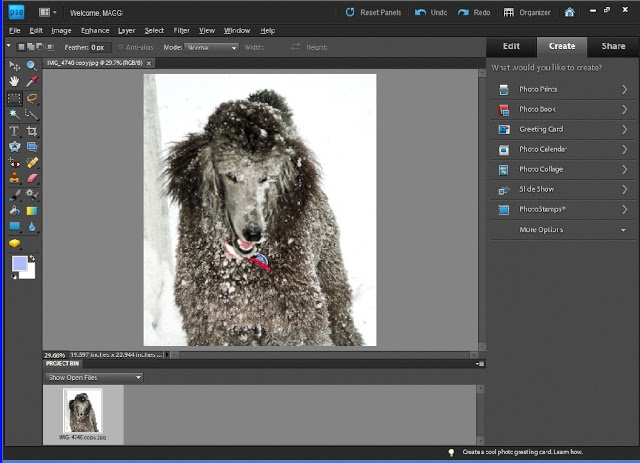
To print with an antique oval frame, open PSE editor and on the right side of the screen, click the Create tab and then click Photo Prints, Print Picture Package. This will open up the PSE Organizer print function.
This is a screenshot of PSE Editor with the Create tab clicked on the right, the first option is the Photo Prints that you should click on.

The Organizer should open up with the print screen visible (see next screen shot). Set your settings 1 - 6. Setting 4 has to be on Picture Package for the frame option to show. There are a number of frame options, be sure to explore them all. For the oval frame that I have used, select Antique oval.

Seems that the largest you can print in this manner is a 5 x 7. There's probably another way and I'll let you know if I find out.
Alternatively you can do this directly through PSE Organizer. In the Organizer, select the picture you want to print, go to File, Print, and set your settings. Be sure to set #4 on Picture Package. I tend to work in the Editor mode so that is why I gave you instructions from there.
Don't you agree that the oval frame really focuses the viewpoint on the do and eliminates all the "noise" around the picture. To me, the oval photo just says, snow and cold!
